Dock Audits
Dock Audits can be performed on the Handheld Scanner.
Performing a Dock Audit on the Handheld Scanner
To perform a Dock Audit using the Handheld Scanner, click on the  button.
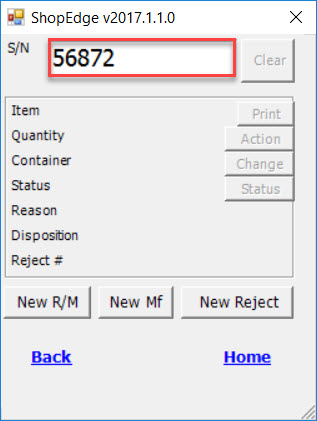
Next, enter in the Serial Number that has the Dock Audit checkbox selected from the Manufacture Routing screen. Once the Serial Number is entered, click the Enter key. The Handheld Scanner will populate the information for that Serial Number such as the Item, Quantity, Container, Status, Reason, Disposition, and Reject #.
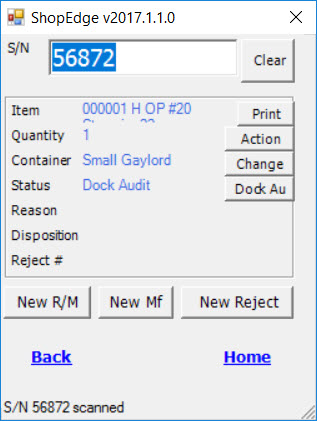
Click on the  button. A new screen will appear for users to enter in notes while performing the Dock Audit. Users may also
select Pass or Fail depending on whether or not the Dock Audit is successful.
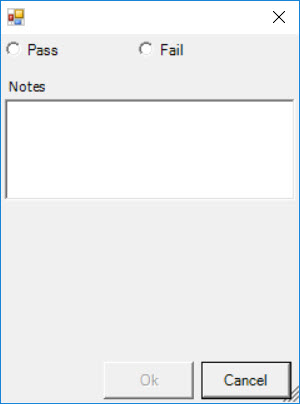
Once the Dock Audit has been complete, select the  button. The Serial Number will be released from the Dock Audit.
The Print Barcode window will appear in order for users to print the corresponding Barcode Label for the Serial Number that the Dock Audit was performed for.
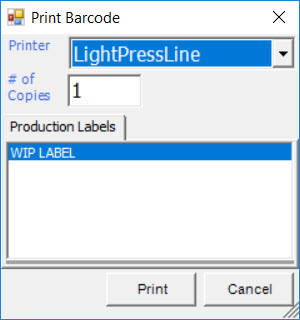
Select the appropriate Printer and # of Copies. Make sure that the Barcode Label is the correct and then, click on the  button.
The appropriate Barcode Label will be printed.
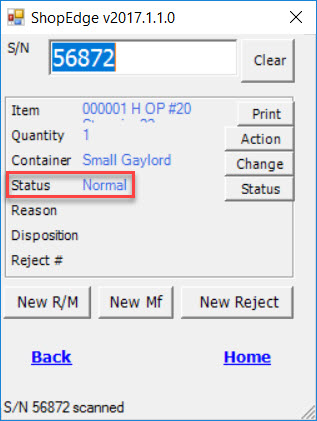
Once the Barcode Label has been printed, the Status of the Serial Number will automatically change to Normal.
